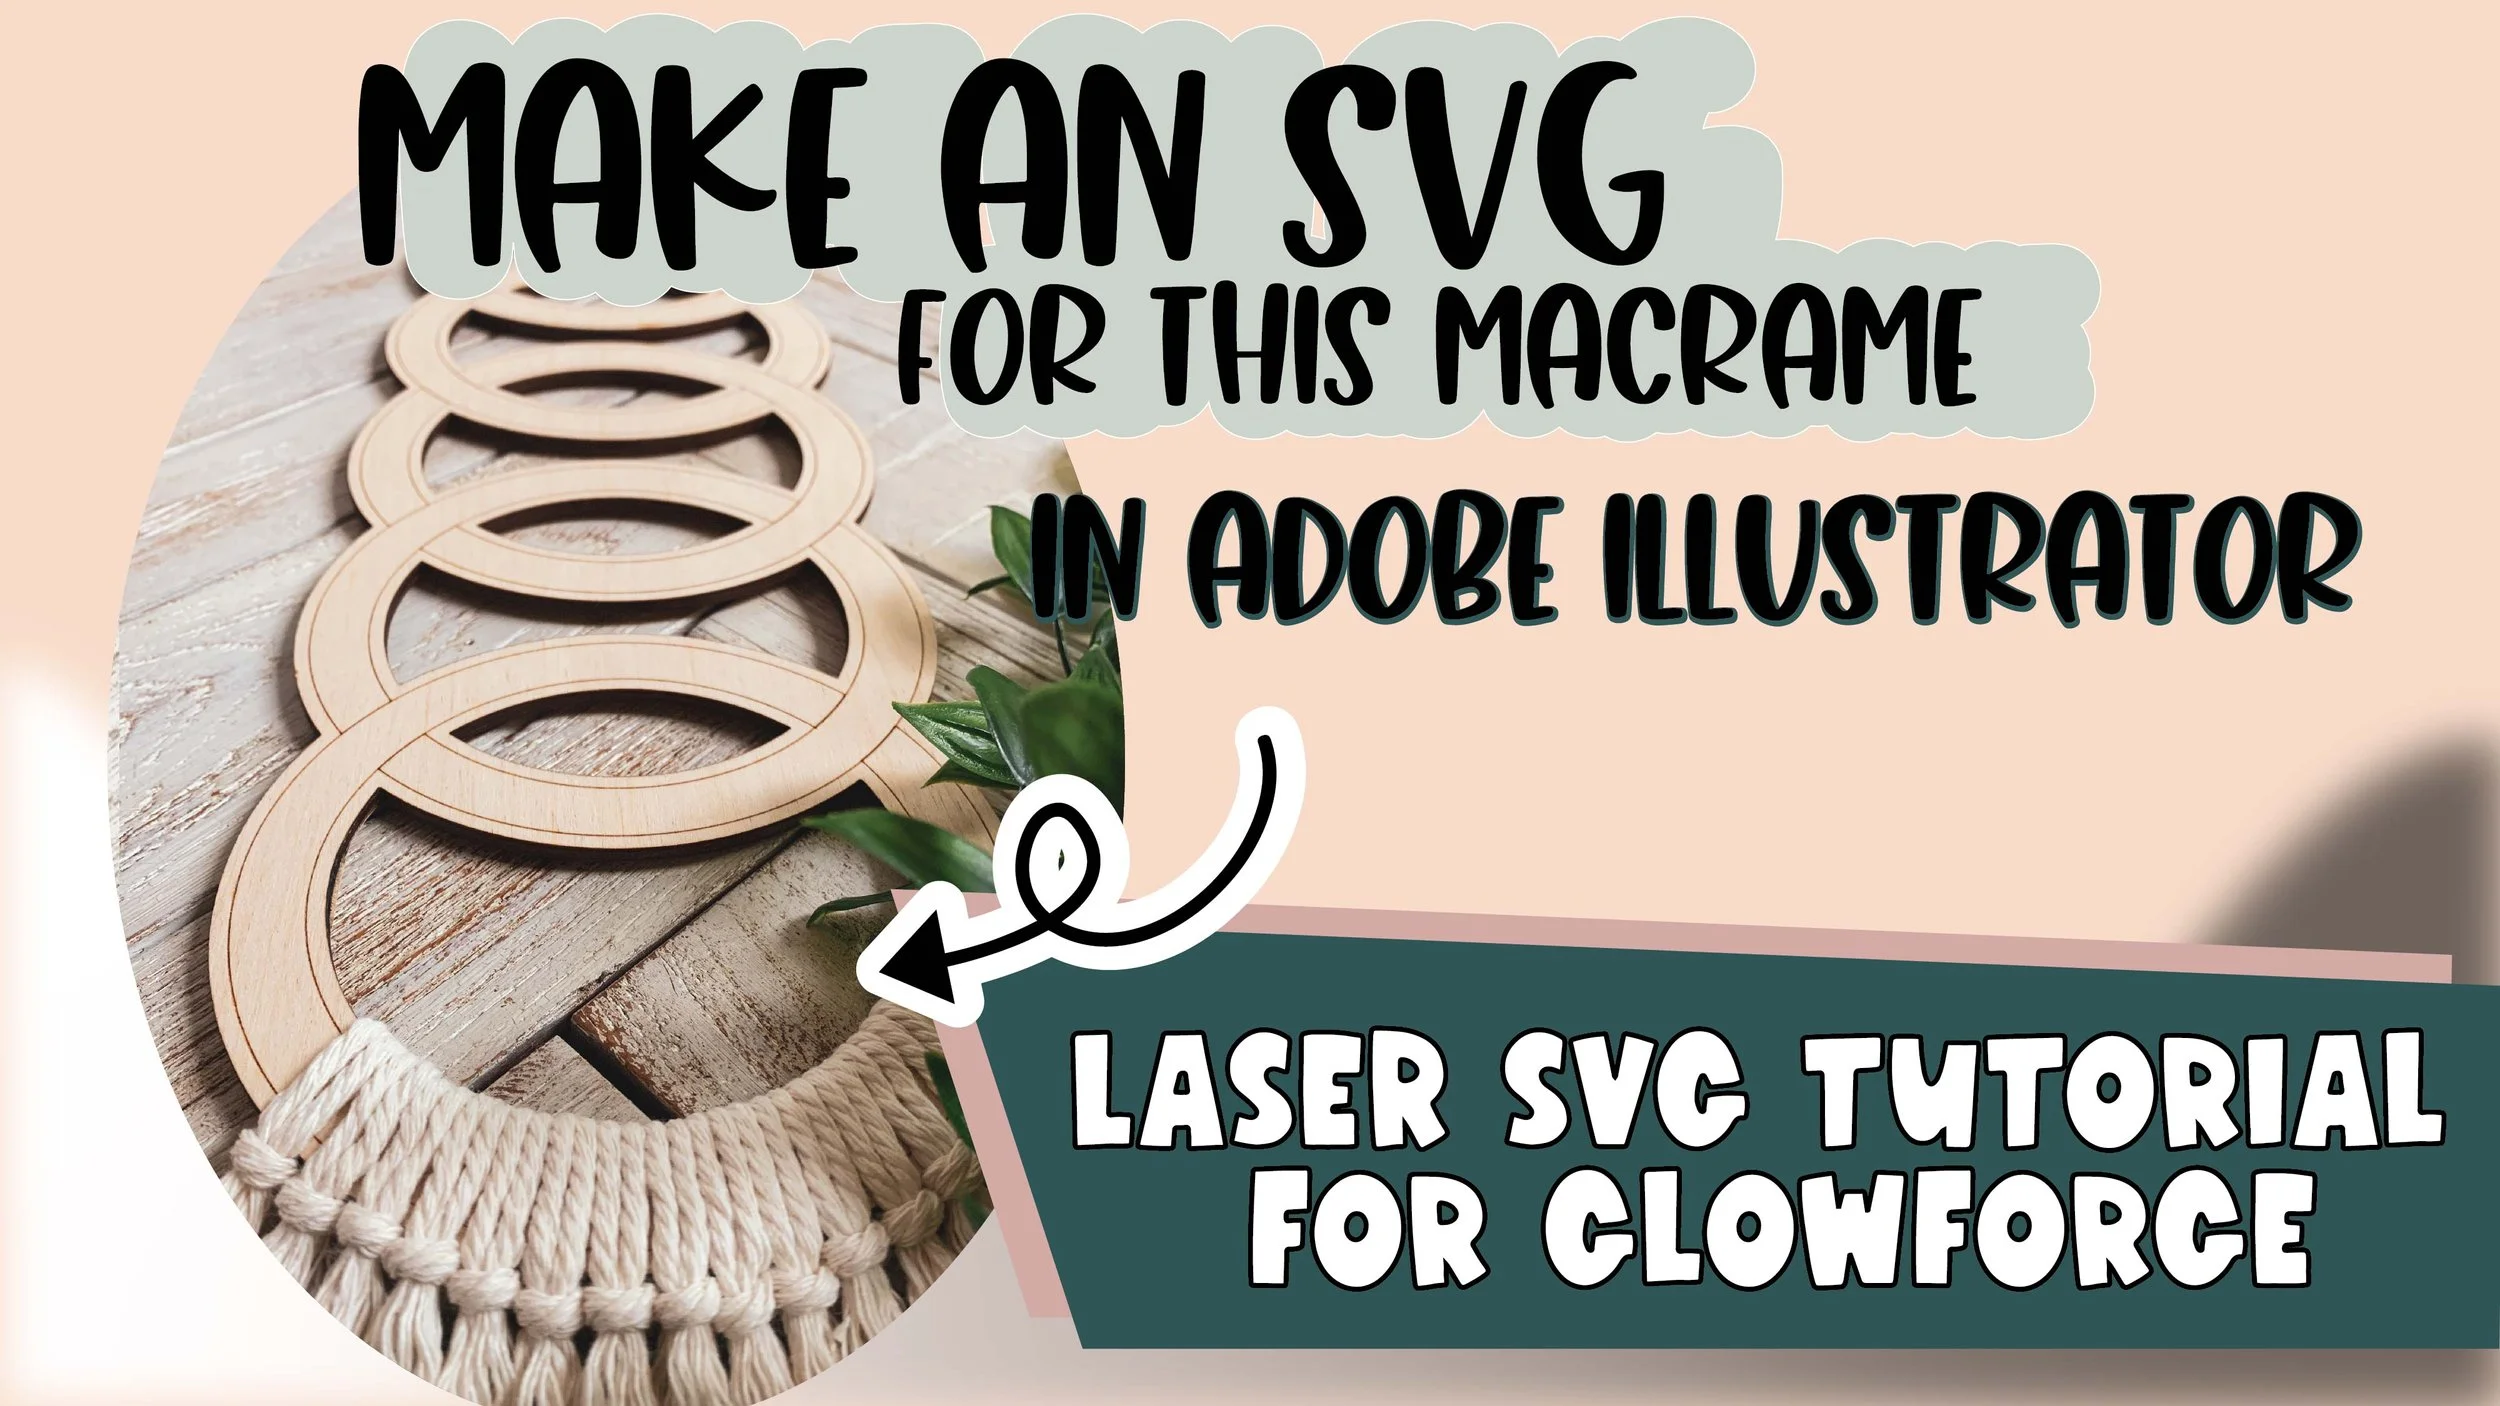
How to use the Shape Builder Tool
Making my favorite…. and showing you how to do it a little differently
So if you know me, you know I'm ALL about macrame decor! I've slowly filled my home with pieces like this one (without my husband noticing too much of course!) Sometimes, I buy them from local artists and sometimes, if I can't find the size I want, I make it! (umm..duh…what maker wouldn't??)
So in this tutorial, I decided to show you how I designed this piece using the Shape Builder tool - once you learn this, this will totally blow your mind with the possibilities you can create with shapes! It's a little tricky, (and annoying if you're not paying attention!)
So a quick recap of how to use this tool:
make sure you select the paths (shapes) you want to work with using the selection tool
when you click on the Shape Builder tool, it will be in merge mode - this will unite the shapes together that you drag your cursor over
when you press the Alt key (Windows) or the Option key (Mac), the shape builder tool will be in Erase mode. When you drag your cursor over paths in this mode, you will delete paths (shapes).
My suggestions? Play with your own designs using shapes and start building random and odd shapes until you get the hang of it.
Let me walk you through how to do this in Adobe Illustrator 2021. Let's go!
What you'll learn:
How to use the Shape Builder Tool
How to make an Offset path
How to use Align functions


