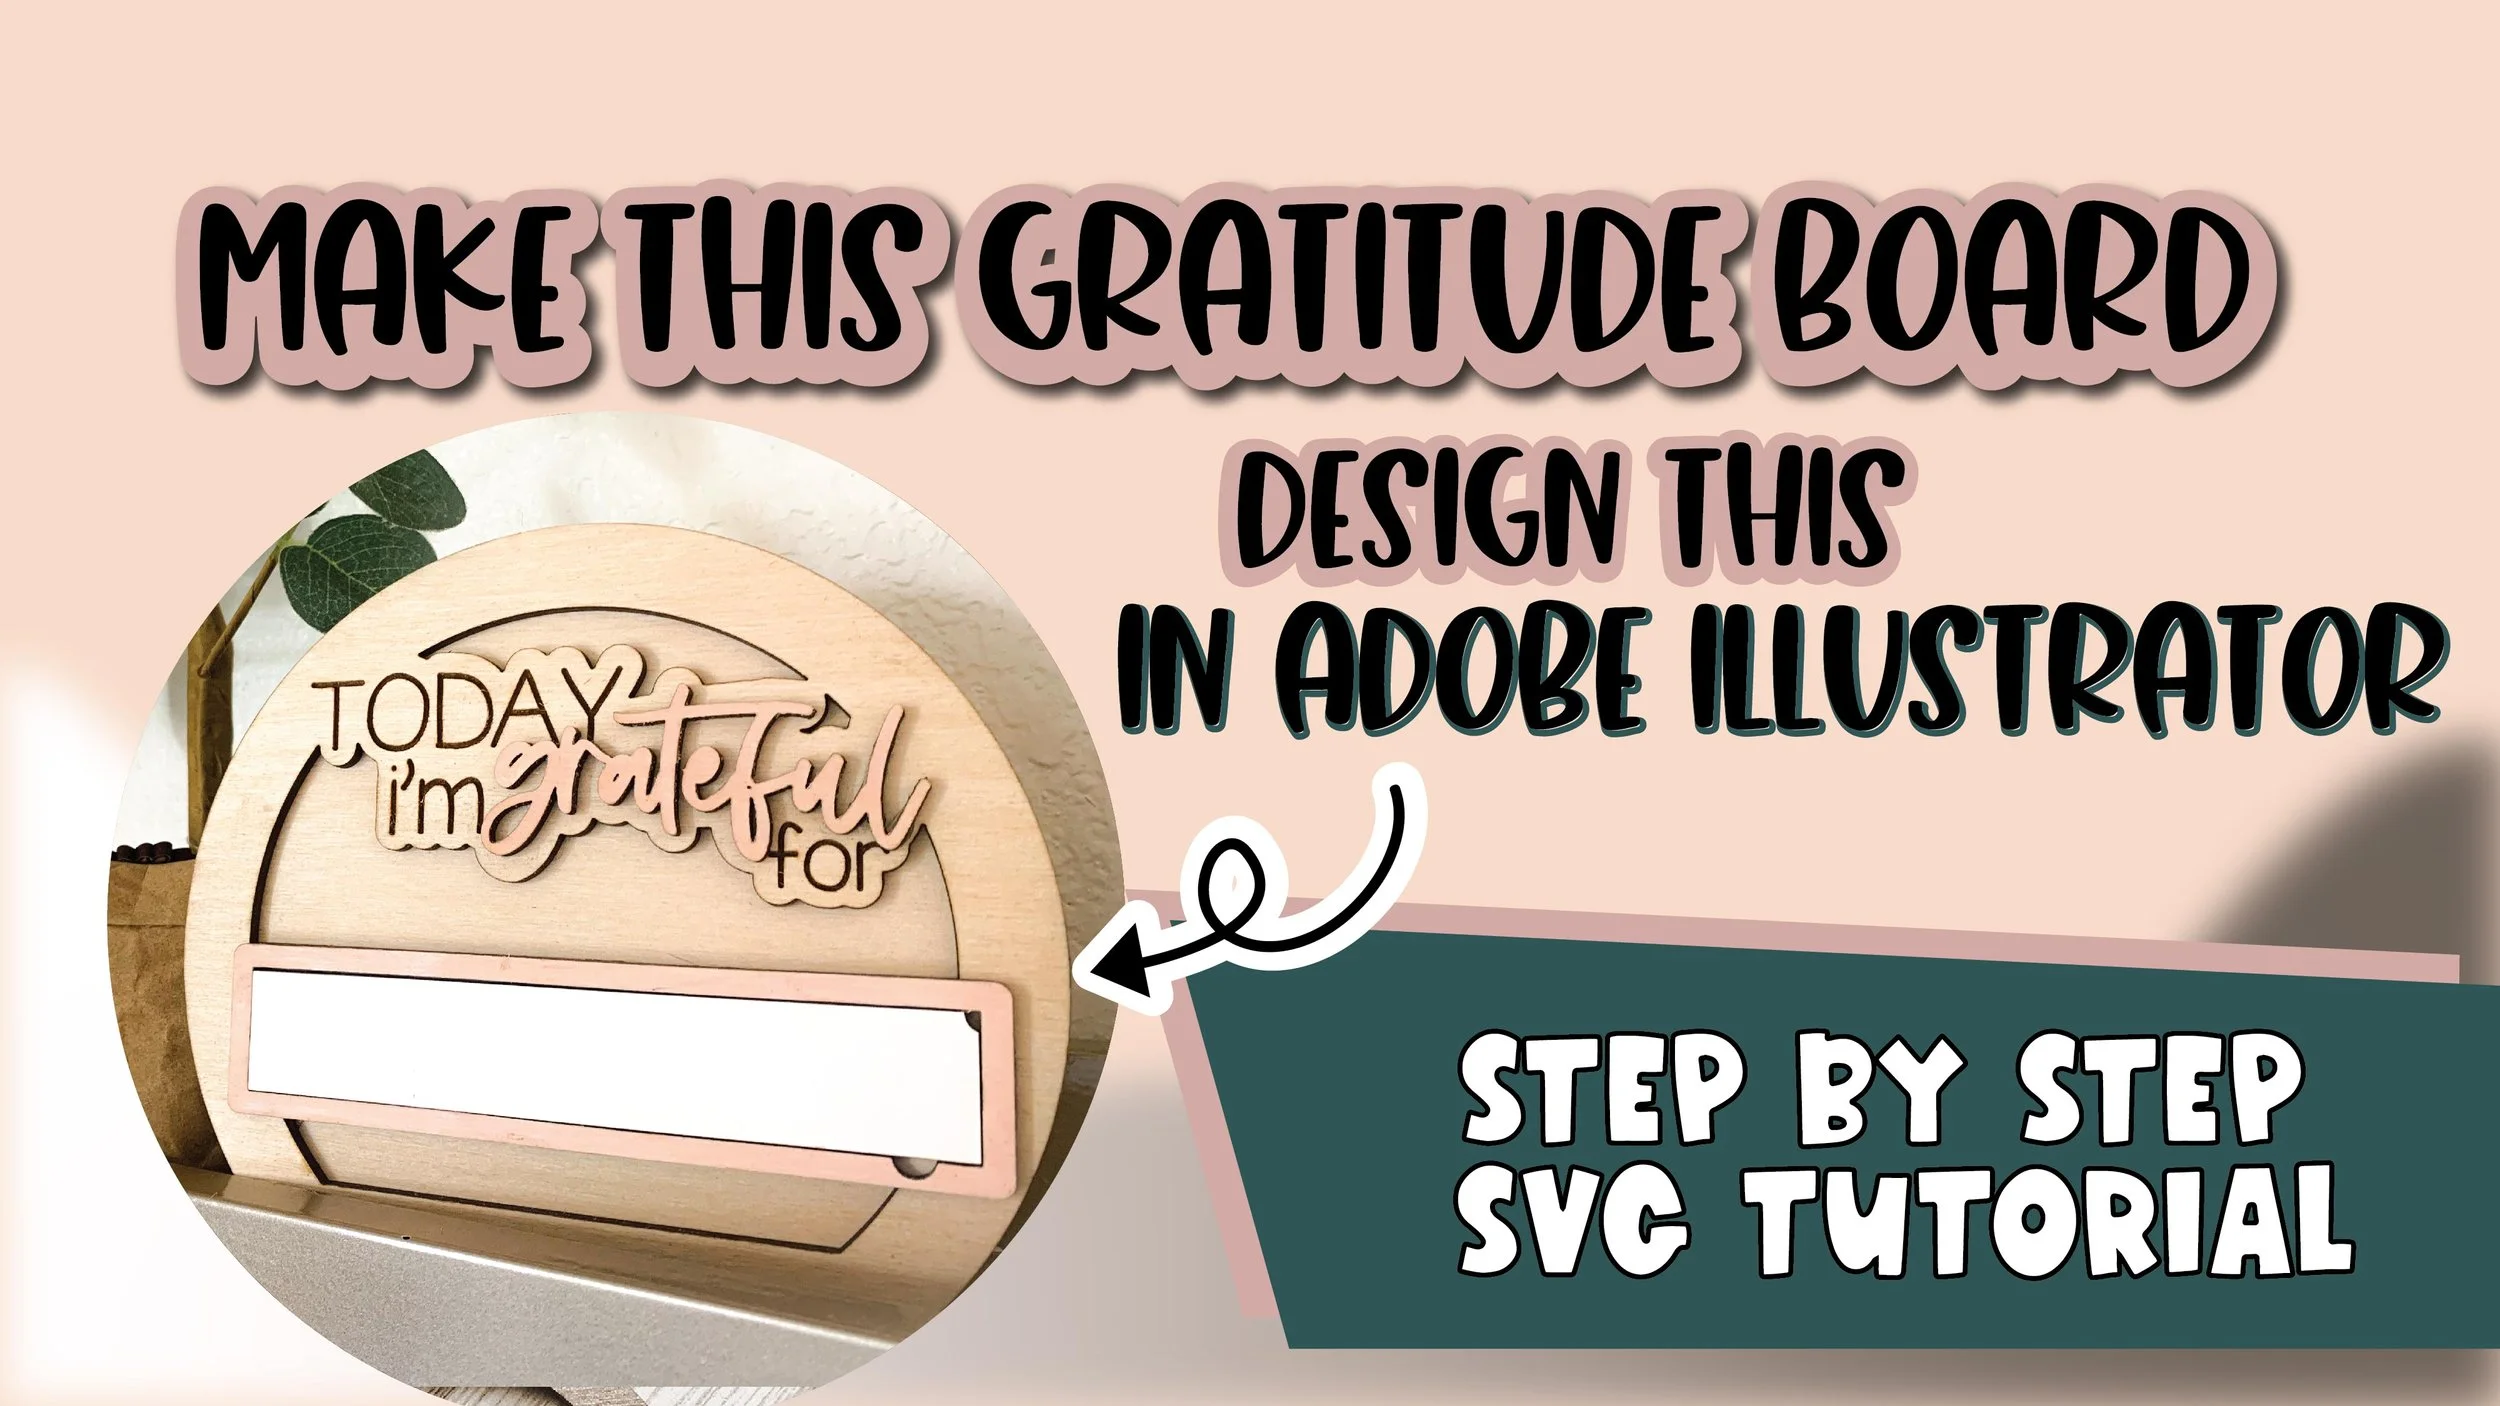
DIY Gratitude Board - Let’s try something with a few more steps now!
This week, we're making a personal project I've had on my radar for a while now. I was itching to make something fun with dry erase board and actually be able to use it! So I designed up this really cute layered gratitude board. Full discloser though, this project has several pieces to it and there are definitely a lot of steps to completing it, but don't worry, I walk you through all of them as usual!
Plus, after I recorded this tutorial, I realized I forgot to mention that you could also engrave the small rectangular piece with text and create different ones to change out whenever you feel. (I think my kids will have fun with getting to choose one to swap it out with every day!)
Tools we hit on in this tutorial: text tool, ellipse tool and rectangle tool and we’ll use the pathfinder functions too. I'll teach you how to make and release compound paths too!


